This is a small viewing of my nail polishes, at the salon. I have many, many more. I usually take down the fall/winter colors during the spring/summer season and visa versa. I would need 10 polish racks just to hold all of my polishes. As you can see, I'm not bias to just one brand. Although, if someone put me on their payroll, I would be, lol. But on a serious note, I just like what I like and most of my clients have been with me for years and I've learned their personalities and I buy polish colors with each of them in mind.
Showing posts with label Nail Stuff. Show all posts
Wednesday, June 9, 2010
Just A Bit
This is a small viewing of my nail polishes, at the salon. I have many, many more. I usually take down the fall/winter colors during the spring/summer season and visa versa. I would need 10 polish racks just to hold all of my polishes. As you can see, I'm not bias to just one brand. Although, if someone put me on their payroll, I would be, lol. But on a serious note, I just like what I like and most of my clients have been with me for years and I've learned their personalities and I buy polish colors with each of them in mind.
New Finds..
I chose to post these colors because they are perfect to use for nail art. I only purchased three, I think they have five in this collection. I chose these three because I use blue, yellow and pink/lavender polishes quite a bit and these off-set them perfectly. To incorporate these in your nail art, just polish your nails the color of your choice, but make sure one of the polishes matches the Hologram polish. Leave the nail you want to have designed bare. Now, polish the tip half of your nail with the Hologram polish then half of that, polish with the original polish that you used on your other nails. So you should have a divided nail. Now begin your design(s). The sparkle from the Hologram polish bump up the nail art designs. Try it.
Hope you guys like this post.
I Use These...
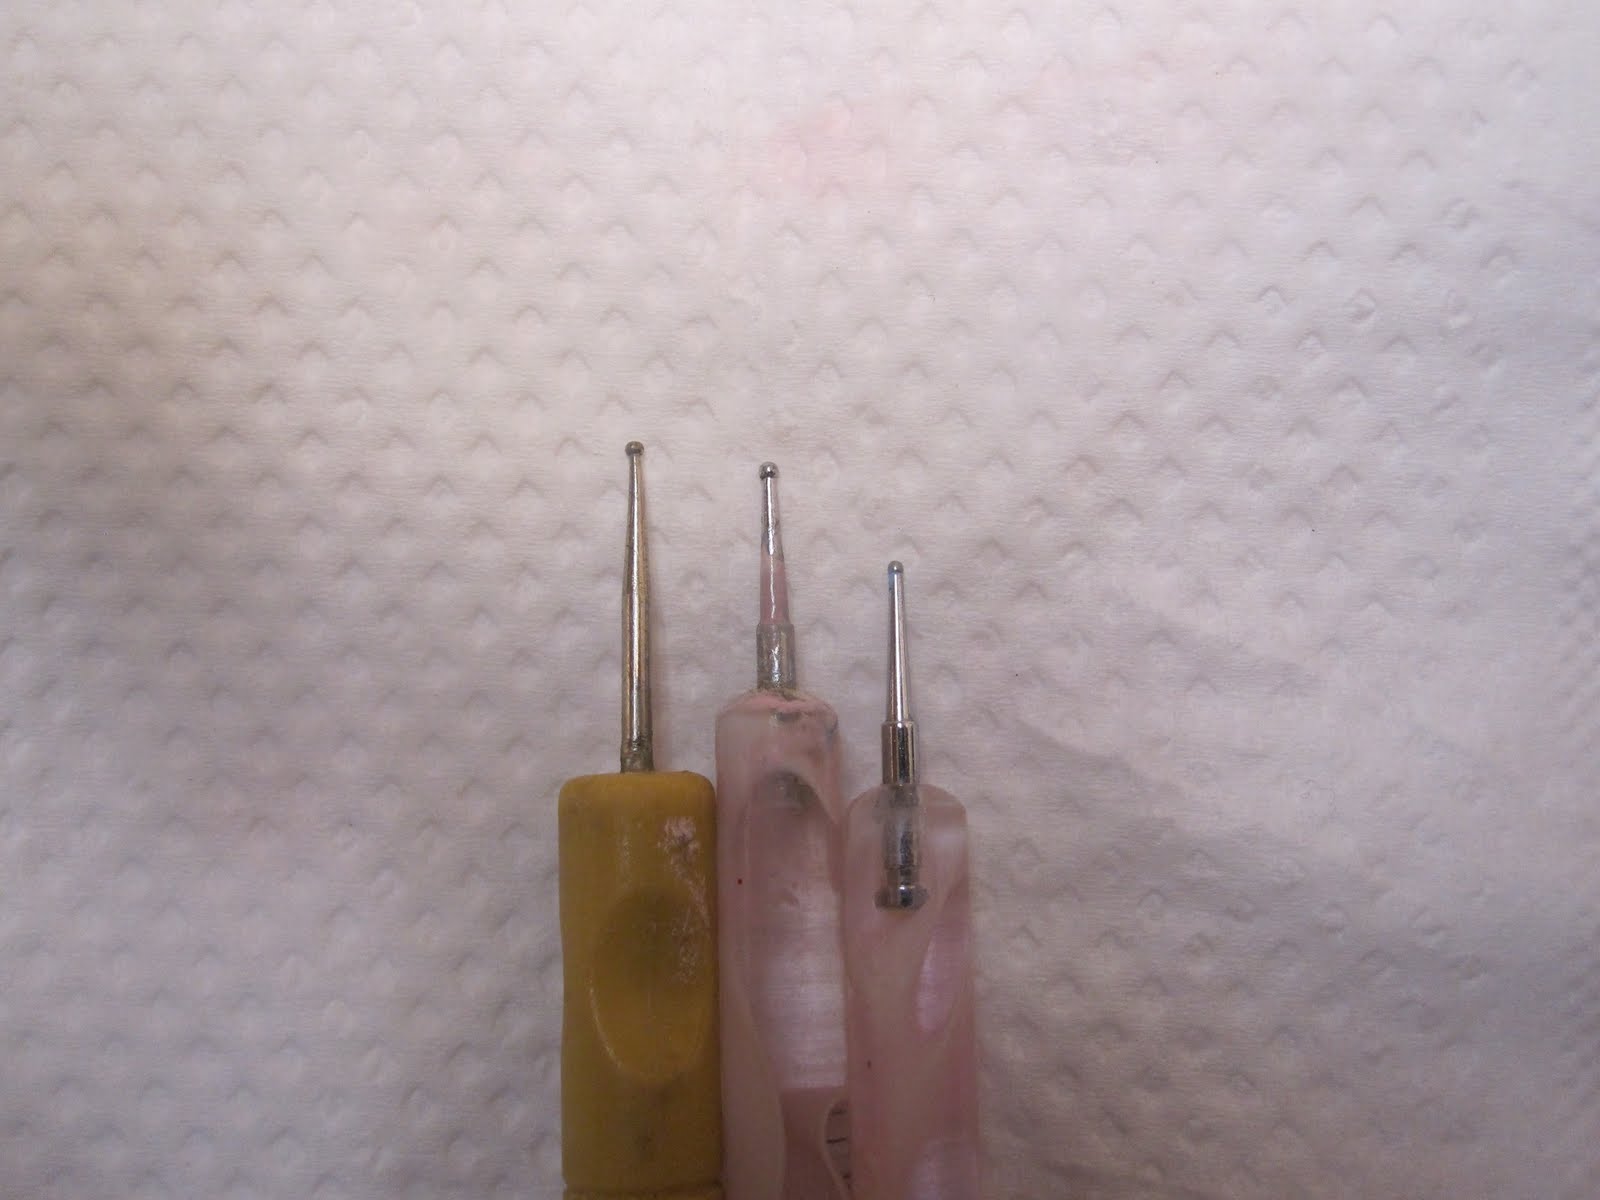
I must tell you guys now, my utensils are used on a daily basis and are not free from design paint or polish stains. Of course, I could go and buy new equipment but I like that broken in look and feel. Everything is clean, but the stains remain. Its the sign of a hard working nail tech.
*This was a "request" post.* On this post I'm showing the nail art brush that I use (everyday) and my dotter sticks. The brush is used for all the lines and stripes that you see in/on my nail art designs and the dotter sticks are what makes the dots. I have trimmed the hairs on my nail art brush because it comes too thick. If you chose to use the brush as is, your lines will be very thick. It can be used that way but your room on the nail bed/plate will be limited.
Hope you guys like this post.
Nail Art Paints
Per request I took pictures of the waterbased art paints that I use. I use a multitude of brands and I took close pictures so you may refer to the brands. What ever you do, do not spend a lot of money of these. I paid $.44 or less for each one. Some where purchased at WalMart, Michaels and/or any fabric store.
When selecting your art paints go bright, or shimmery and bold. Remember, you want your designs to stand out from the polish. My suggestion is to select art paints in the same color family as the polish and then one off color. For example, if you paint your nails red then chose pink, fuschia, or lavender art paints. Then as your stand-out/off-color try yellow.
As a Thank You to my followers, once I hit 100 (followers), I plan to do a tutorial. And maybe let you in on a day of me being a nail tech. Also, I'm going to do a giveaway, polishes and art paints. So I'm watching my followers list.
Hope this post helped :-)
Subscribe to:
Posts (Atom)